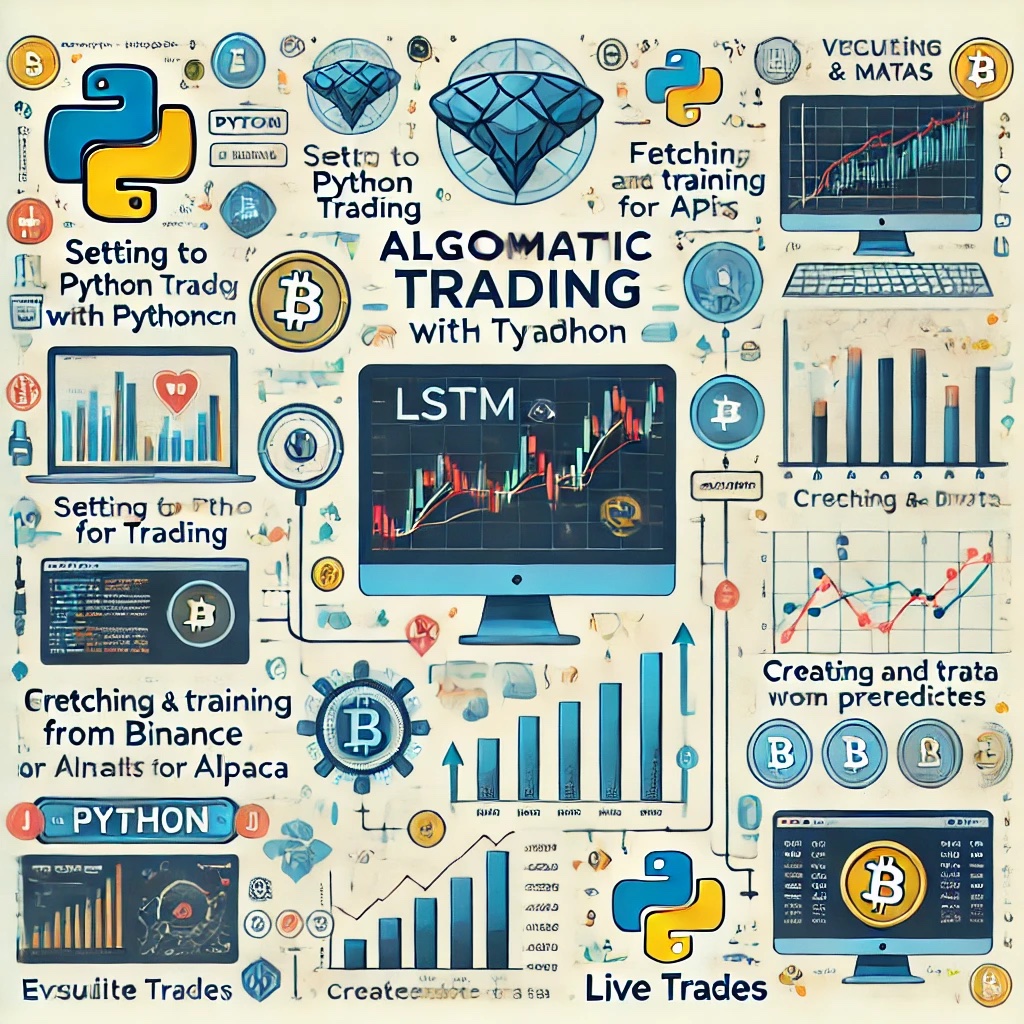
Algorithmic Trading with Python A Real Project Guide - Part 1
Algorithmic trading involves using code to automate the buying and selling of assets based on pre-defined rules. This tutorial will guide you step-by-step to build a simple trading bot using Python and an API like Alpaca, a popular platform for commission-free trading.
Step 1: Prerequisites
Before you start, ensure you have:
Basic Python Knowledge: Familiarity with Python basics, loops, functions, and APIs.
API Access: Create a free account on Alpaca and get your API key and secret.
Python Environment: Install Python (>=3.8) and set up an IDE like VS Code or PyCharm.
Step 2: Setting Up Your Environment
Install required libraries by running:
pip install alpaca-trade-api pandas matplotlib
Import necessary modules in your Python script:
import alpaca_trade_api as tradeapi
import pandas as pd
import matplotlib.pyplot as plt
Step 3: Connect to the Alpaca API
Use your API keys to authenticate and connect to the Alpaca platform.
# Replace with your API keys
API_KEY = 'your_api_key'
API_SECRET = 'your_api_secret'
BASE_URL = 'https://paper-api.alpaca.markets' # Use paper trading for testing
# Initialize the API
api = tradeapi.REST(API_KEY, API_SECRET, BASE_URL, api_version='v2')
Step 4: Fetch Historical Market Data
Pull historical data to analyze and make trading decisions.
# Define the stock symbol and time frame
symbol = 'AAPL'
timeframe = '1D' # Daily data
# Fetch historical data
data = api.get_barset(symbol, timeframe, limit=100).df[symbol]
# Display the data
print(data.head())
# Plot the closing prices
data['close'].plot(title=f'{symbol} Closing Prices')
plt.show()
Step 5: Define a Simple Trading Strategy
For this tutorial, we’ll use a Moving Average Crossover strategy:
Buy Signal: When the short-term moving average crosses above the long-term moving average.
Sell Signal: When the short-term moving average crosses below the long-term moving average.
# Calculate Moving Averages
data['SMA_10'] = data['close'].rolling(window=10).mean()
data['SMA_50'] = data['close'].rolling(window=50).mean()
# Plot Moving Averages
plt.figure(figsize=(10, 5))
plt.plot(data['close'], label='Closing Price')
plt.plot(data['SMA_10'], label='10-Day SMA')
plt.plot(data['SMA_50'], label='50-Day SMA')
plt.legend()
plt.title(f'{symbol} Moving Averages')
plt.show()
Step 6: Implement the Trading Bot
Automate buy and sell decisions based on the strategy.
# Define a function for placing trades
def trade(symbol, signal):
if signal == 'buy':
api.submit_order(
symbol=symbol,
qty=1, # Number of shares to buy
side='buy',
type='market',
time_in_force='gtc' # Good 'til canceled
)
print(f'Placed a BUY order for {symbol}')
elif signal == 'sell':
api.submit_order(
symbol=symbol,
qty=1, # Number of shares to sell
side='sell',
type='market',
time_in_force='gtc'
)
print(f'Placed a SELL order for {symbol}')
# Generate trading signals
data['Signal'] = 0
data.loc[data['SMA_10'] > data['SMA_50'], 'Signal'] = 1
data.loc[data['SMA_10'] < data['SMA_50'], 'Signal'] = -1
# Loop through data to execute trades
for i in range(1, len(data)):
if data['Signal'][i] == 1 and data['Signal'][i - 1] <= 0:
trade(symbol, 'buy')
elif data['Signal'][i] == -1 and data['Signal'][i - 1] >= 0:
trade(symbol, 'sell')
Step 7: Monitor Portfolio and Performance
Check your portfolio to ensure your bot is working as expected.
# Fetch portfolio positions
positions = api.list_positions()
for position in positions:
print(f"{position.symbol}: {position.qty} shares at {position.current_price}")
Track overall account performance:
# Fetch account info
account = api.get_account()
print(f"Account Balance: ${account.equity}")
print(f"Buying Power: ${account.buying_power}")
Step 8: Test and Optimize
Backtesting: Test your strategy on historical data.
Use libraries like Backtrader for comprehensive backtesting.
Optimization: Adjust parameters (e.g., SMA periods) to improve profitability.
Step 9: Deploy Your Bot
Paper Trading: Always test with a paper trading account before going live.
Live Trading: Switch to a live account once confident in your bot's performance.
Algorithmic trading with Python allows you to automate and optimize trading decisions.
Always backtest and monitor the performance of your strategies.
Stay informed about market regulations and trading risks.
Hope this is helpful, and I apologize if there are any inaccuracies in the information provided.


Comments
Post a Comment